Page non traduite
Cette page n'est pas encore disponible en français. Le contenu est affiché en anglais.
Initial Setup
Power-Up
Before powering up the PERCEPT Gateway, it is strongly recommended to plug in the LTE USB adapter.
Before you can use the PERCEPT Gateway, connect the following cables:
- Ethernet network(s)
- Power
Note
Connecting a keyboard, mouse, and monitor to the PERCEPT Gateway allows you to configure its internet connectivity locally. This is not recommended other than for advanced troubleshooting.
Note
The only layout supported for a directly attached USB keyboard is US QWERTY. This is due to the closed nature of the embedded Operating System, which prevents any changes to its default configuration.
On first power on, once all the required cabling is connected, the appliance boots automatically. If the appliance was previously shut down using the power button, to turn it back on, press the power button.
If a display monitor is connected, the image below appears after a few moments:
When all services are running, the display switches to the status information page. The example below shows a gateway with LAN2 connected, Wi-Fi settings configured, and an active connection to a PERCEPT Cloud organization.
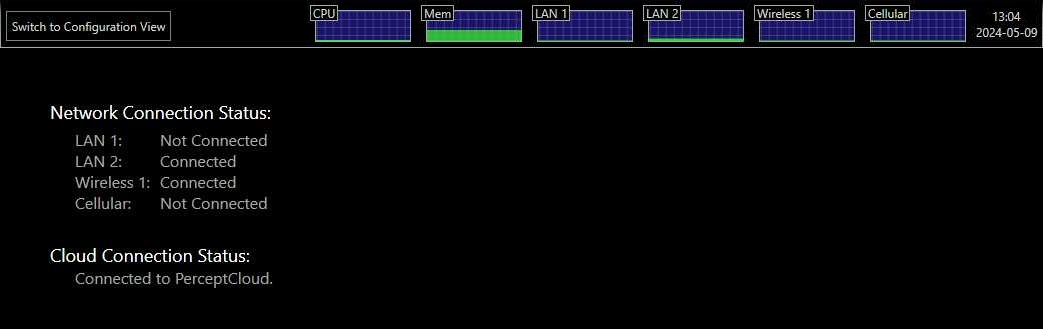
The PERCEPT Gateway status page shows the following information.
-
Switch to Configuration / Gateway View: This button allows you to switch between the configuration interface and the status information page.
-
Performance Graphs: These graphs show the device's recent resource usage.
- CPU: shows the main processor's activity
- Mem: shows the system's RAM utilization
- LAN 1: shows the traffic on the LAN 1 Ethernet interface
- LAN 2: shows the traffic on the LAN 2 Ethernet interface
- Wireless 1: shows the traffic on the Wireless interface
- Cellular: shows the traffic on the LTE Cellular interface
-
Network Connection Status: Each network interface shows one of the following statuses:
- Connected: Interface is enabled and connected, with or without internet access.
- Not Connected: Interface is enabled but there is no cable connected or no valid wireless connection setting.
- Disabled: Interface is disabled in the PERCEPT Gateway configuration. By default, all network interfaces are enabled.
-
Cloud Connection Status: Cloud Connection shows one of the following statuses:
- Disabled: PERCEPT Cloud connectivity is disabled in the PERCEPT Gateway configuration.
- Connecting/Connection lost: The PERCEPT Gateway is attempting to connect to PERCEPT Cloud.
- Connected: The PERCEPT Gateway is connected to PERCEPT Cloud.
Conseil
The PERCEPT Gateway is primarily managed through PERCEPT Cloud.
PERCEPT Cloud Onboarding
By default, the PERCEPT Gateway is not onboarded to a PERCEPT Cloud organization. When it is connected to the internet, the status page displays a QR code that you can use to onboard it.
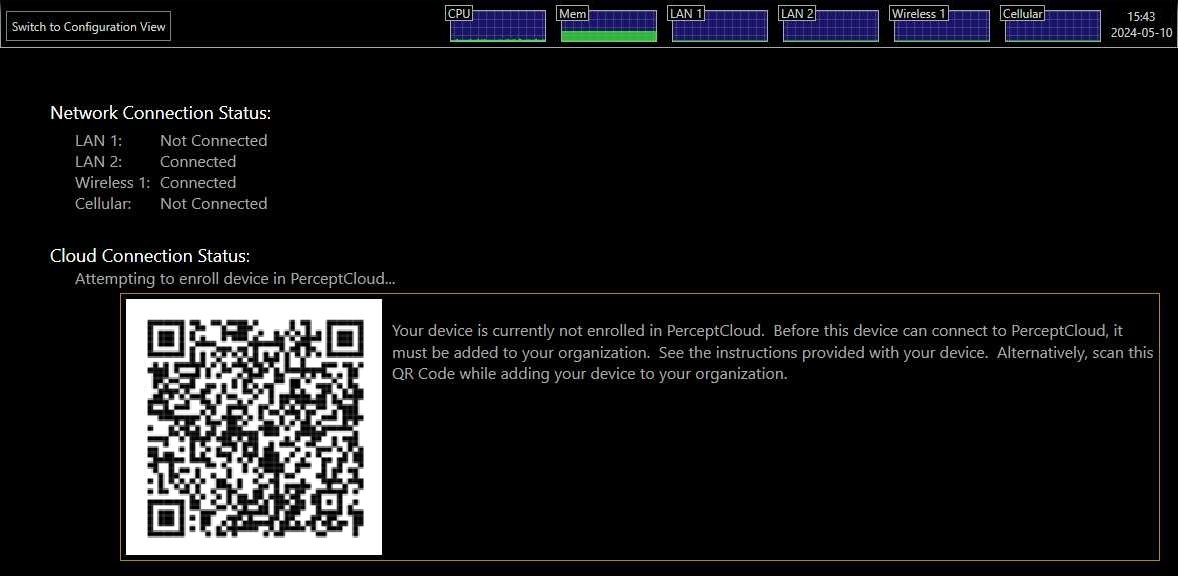
In PERCEPT Cloud, open Devices > Overview, click Add, and use the QR code or the MAC address and PIN from the product label to onboard the Gateway.
After the gateway is onboarded, continue managing it from PERCEPT Cloud.
If the gateway is already onboarded to a PERCEPT Cloud organization, continue managing it from PERCEPT Cloud.
Admin Account Setup
If the gateway cannot connect to PERCEPT Cloud or cannot be onboarded, create a local administrator account and configure it locally.
For local setup, connect a USB keyboard and mouse, then click Switch to Configuration View.
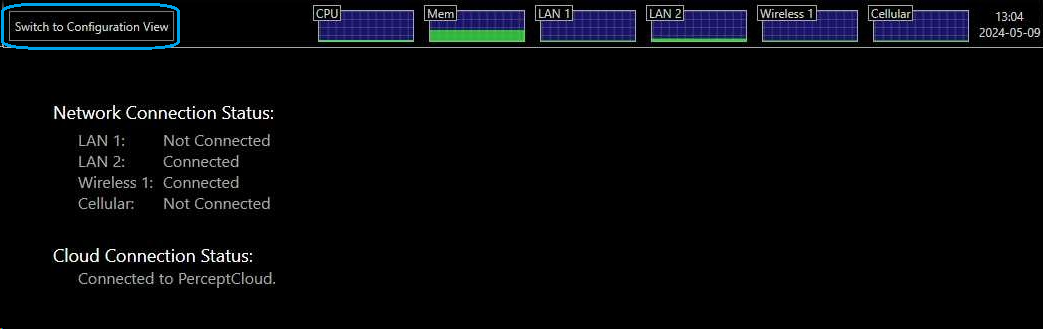
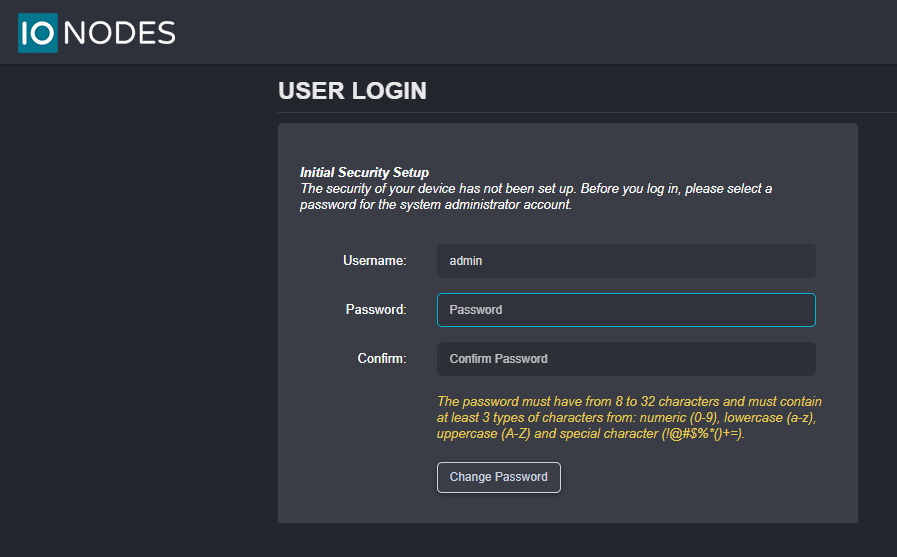
Upon first login, the user is prompted to select a password for the administrator account. The password must have from 8 to 32 characters and must contain at least 3 different types of characters from the following accepted types: numeric (0-9), lowercase (a-z), uppercase (A-Z) and special character (!@#\$%*()+=). Please note that the same screen will also be displayed when doing the initial setup remotely, over the LAN.
Access Point Mode
If the Gateway cannot connect through its local network interfaces at power up, it can temporarily expose a wireless access point so you can reach the management interface and complete minimal network setup.
If all three local network interfaces (LAN1, LAN2 and Wireless 1) are disconnected upon power up, the PERCEPT Gateway will automatically activate Access Point Mode for 15 minutes. Devices (laptop, tablet, mobile, etc.) can connect to this wireless access point and reach the PERCEPT Gateway's management interface. Access point settings:
- SSID: 'ION-' followed by the 16 characters of the device's serial number
- Password: 8-number PIN located on the label affixed to the bottom of the device
- Default IP address: 192.168.137.1
- Once connected to the PERCEPT Gateway's access point, open a web browser and go to
http://192.168.137.1to access the management page.
If a monitor is connected, it will display the following message:
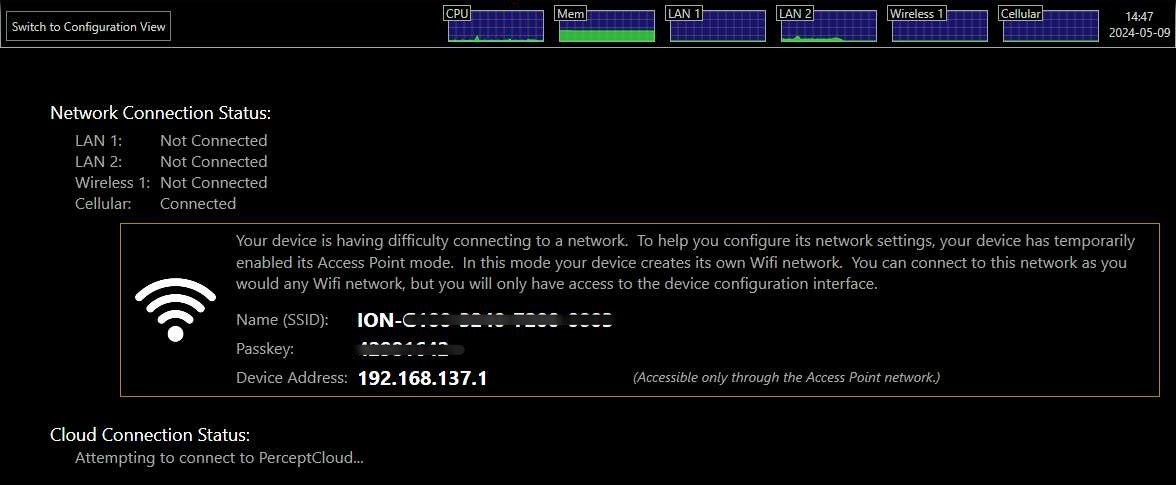
After connecting through Access Point Mode, continue with network configuration in the Network section.