Installation
Equipment Installation
The PERCEPT Gateway can be installed on a flat surface or mounted using the included VESA hardware.
Desktop Placement
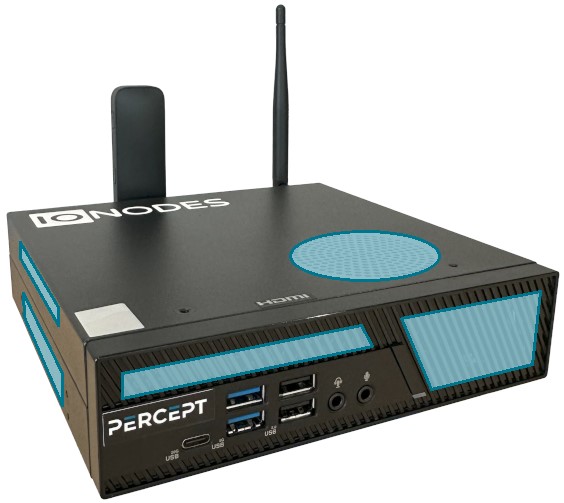
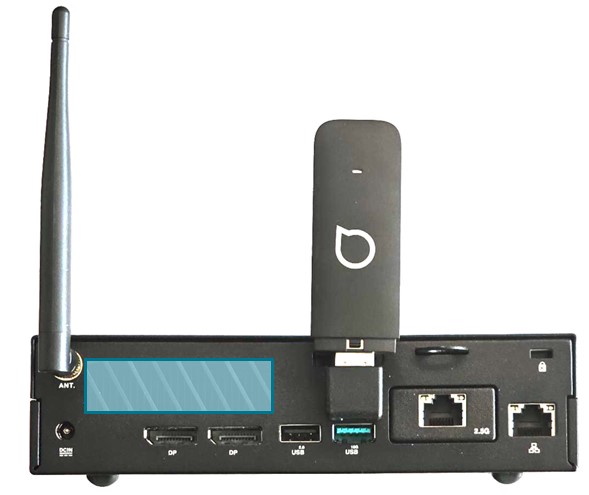
Place the PERCEPT Gateway on a flat, stable surface such as a desktop. Position the unit to allow cable clearance at the rear and make sure that air vents are not obstructed.
VESA Mounting
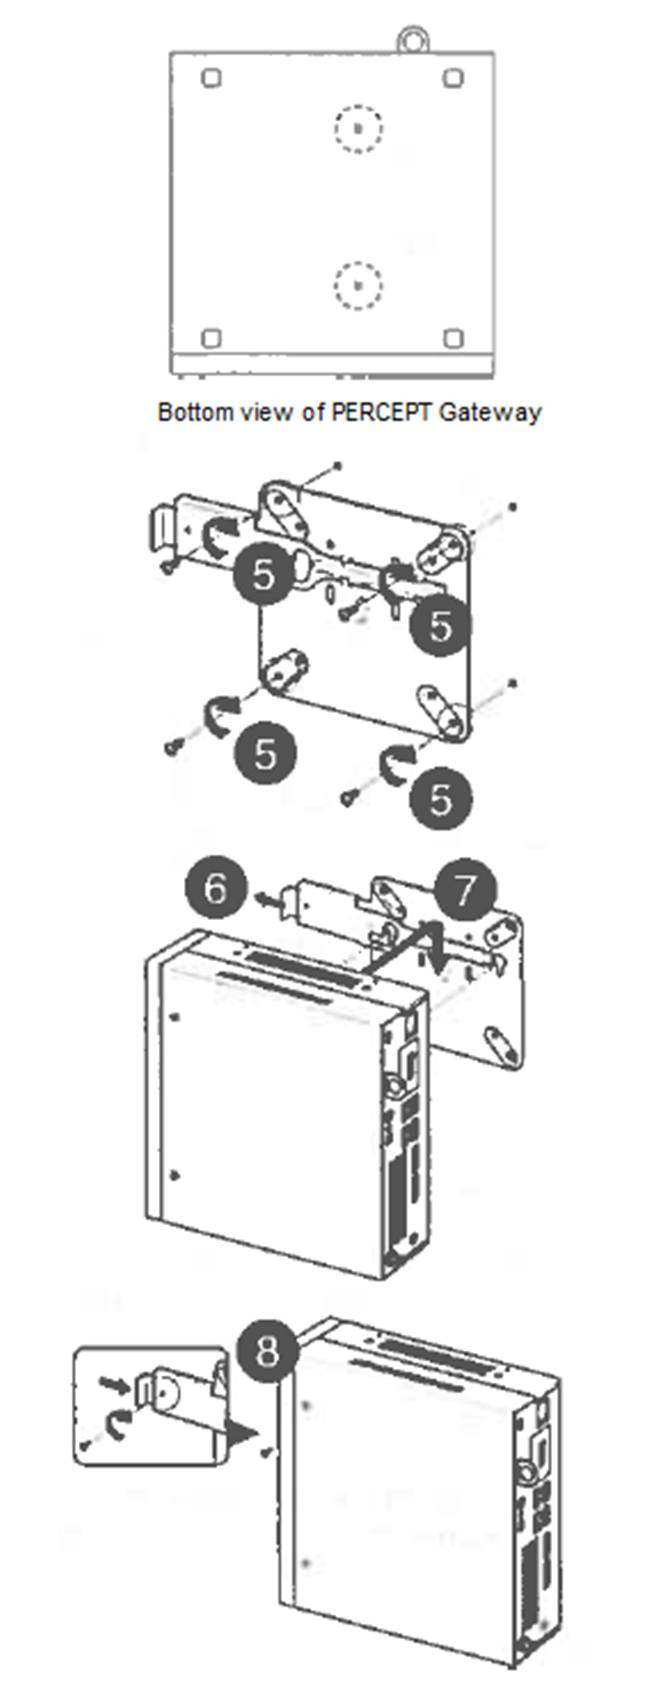
The PERCEPT Gateway can be mounted to various mounting structures via the supplied VESA mounting assembly. VESA mounting screws are shipped with the device.
To install the PERCEPT Gateway on a mounting surface:
- Place the PERCEPT Gateway upside down on a flat and stable surface.
- Attach the two (2) bundled 12 mm screws into the screw holes at the bottom of the PERCEPT Gateway.
- Remove the screw hole covers at the back of the VESA mount-compatible device, if any.
- With the arrow on the VESA mounting plate pointing upward, align its screw holes to the screw holes of the desired mounting surface or VESA mount-compatible device.
- Secure the VESA mounting plate to the desired mounting surface or VESA mount-compatible device using bundled screws.
- Pull the metal lock on the VESA mounting plate outwards.
- Position the PERCEPT Gateway and insert the screws attached to the PERCEPT Gateway into the mounting holes on the VESA mounting plate, then gently push the PERCEPT Gateway down to secure it in place.
- Push the metal lock back towards the PERCEPT Gateway then secure it using a screw.
Warning
Do not overtighten the screws as it may cause damage to your PERCEPT Gateway or VESA mount-compatible device.
Air Vent Locations
For proper cooling of the device, air vents must not be obstructed. There are six (6) air vents on the PERCEPT Gateway, highlighted in the illustration below.