PERCEPT Cloud integration
This PERCEPT Cloud integration guide applies to PERCEPT BC100 and BC200 body cameras.
Prerequisites
Ensure the following requirements are met before starting the integration:
- A computer with access to the camera web interface
- A valid PERCEPT Cloud account
- An active internet connection on the camera
- Firewall rules that allow the camera to reach PERCEPT Cloud; see Network requirements
Camera configuration
Complete this procedure in the body camera web interface.
- Log in to the camera web interface and open the Configuration page.
- Select the Integrations tab.
- Make sure Enable PERCEPT IoT Cloud is selected. Click Save if prompted.
- Click Show Configuration Code.
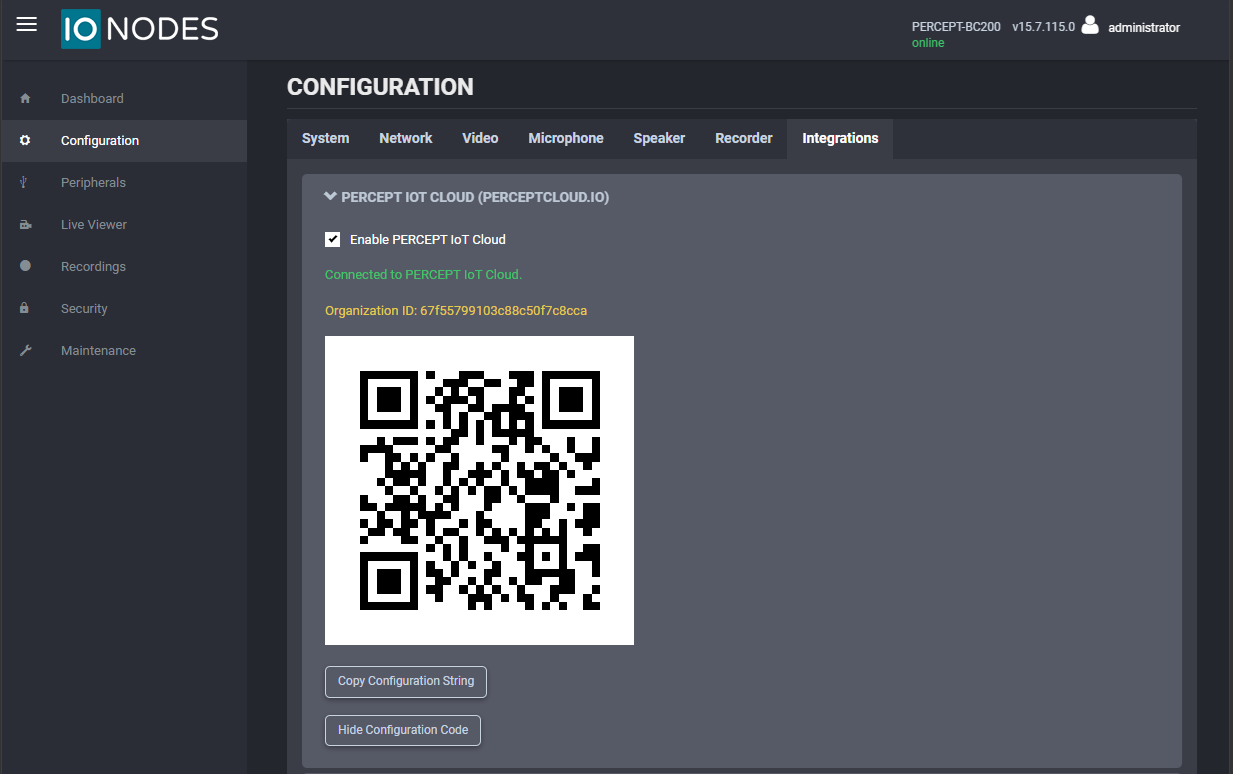
Register a camera
Continue in PERCEPT Cloud and in the organization's Devices Overview, click Add.
Tip
A PERCEPT Cloud account can be created at perceptcloud.io if required.
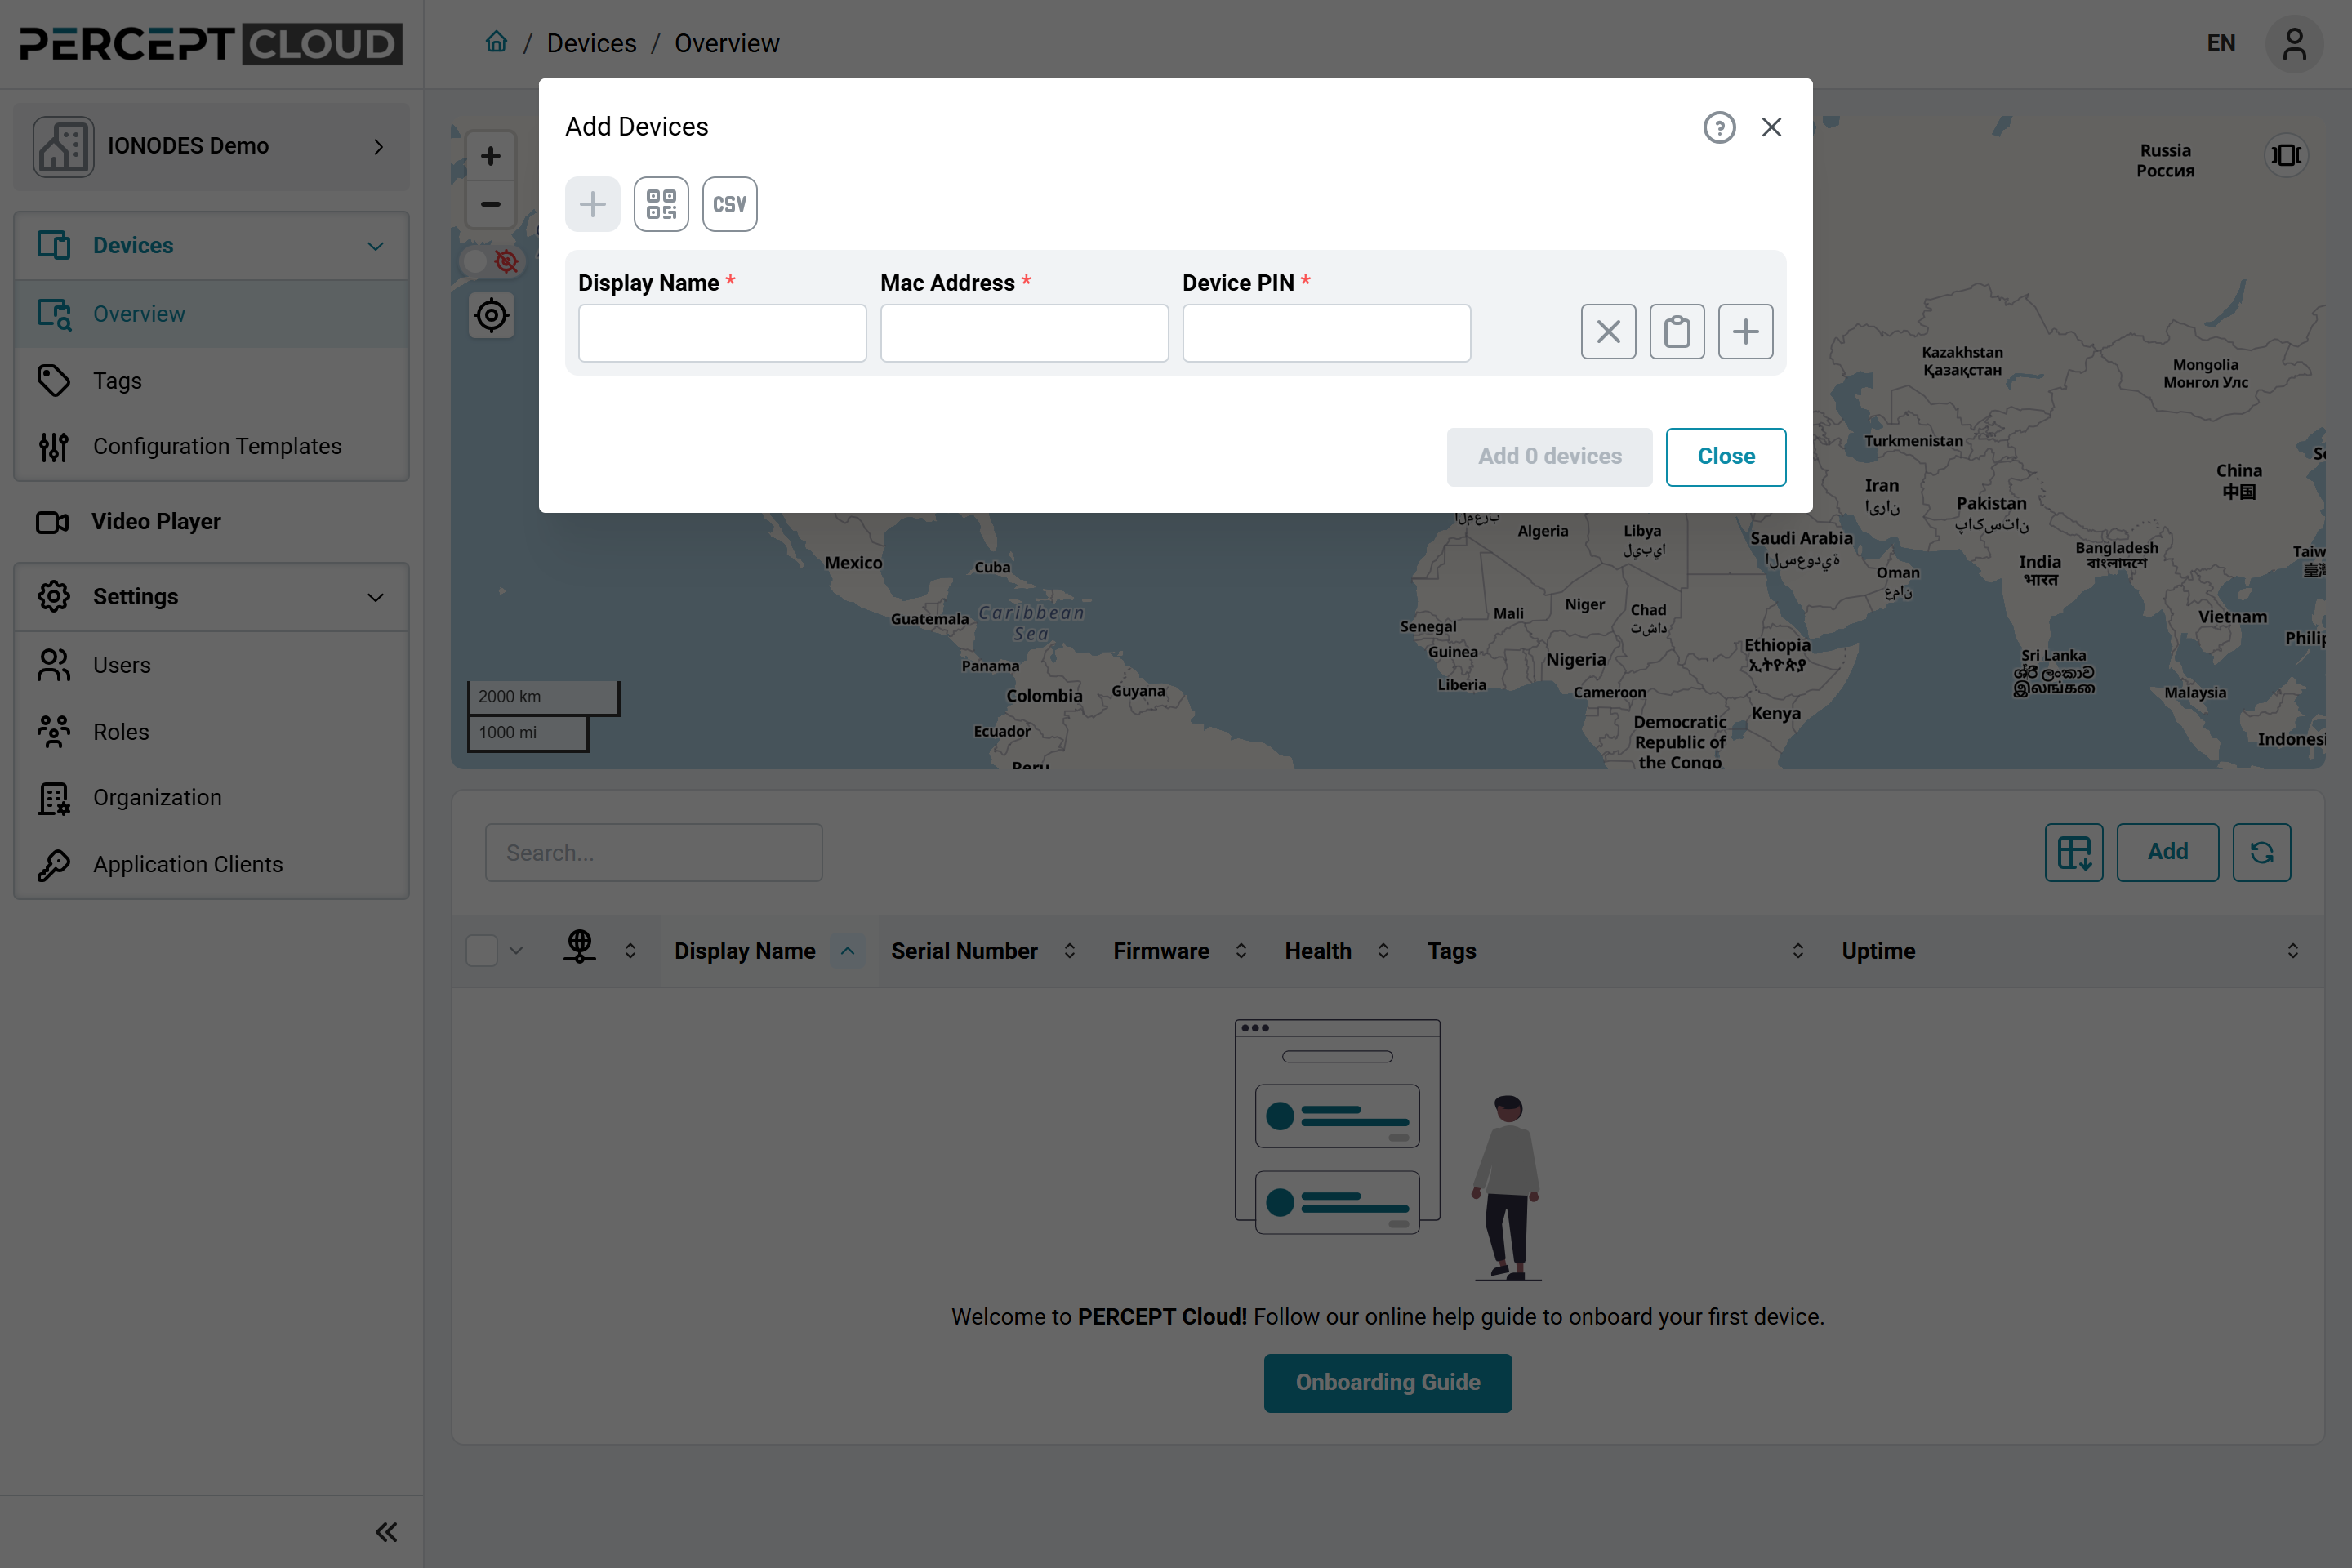
Choose the onboarding mode that matches the available devices:
- Manual Mode: Use this mode when the same computer can access both the camera web interface and PERCEPT Cloud. In the camera web interface, click Copy Configuration String, then paste the string into the Add Devices dialog.
- QR Code Mode: Use this mode when PERCEPT Cloud is open on a separate computer, tablet, or mobile phone with a camera. In the Add Devices dialog, select QR Code Mode, then scan the configuration code displayed in the camera web interface.
Note
The displayed QR code is a configuration code and must be scanned from within PERCEPT Cloud, not with a standard QR-code reader.
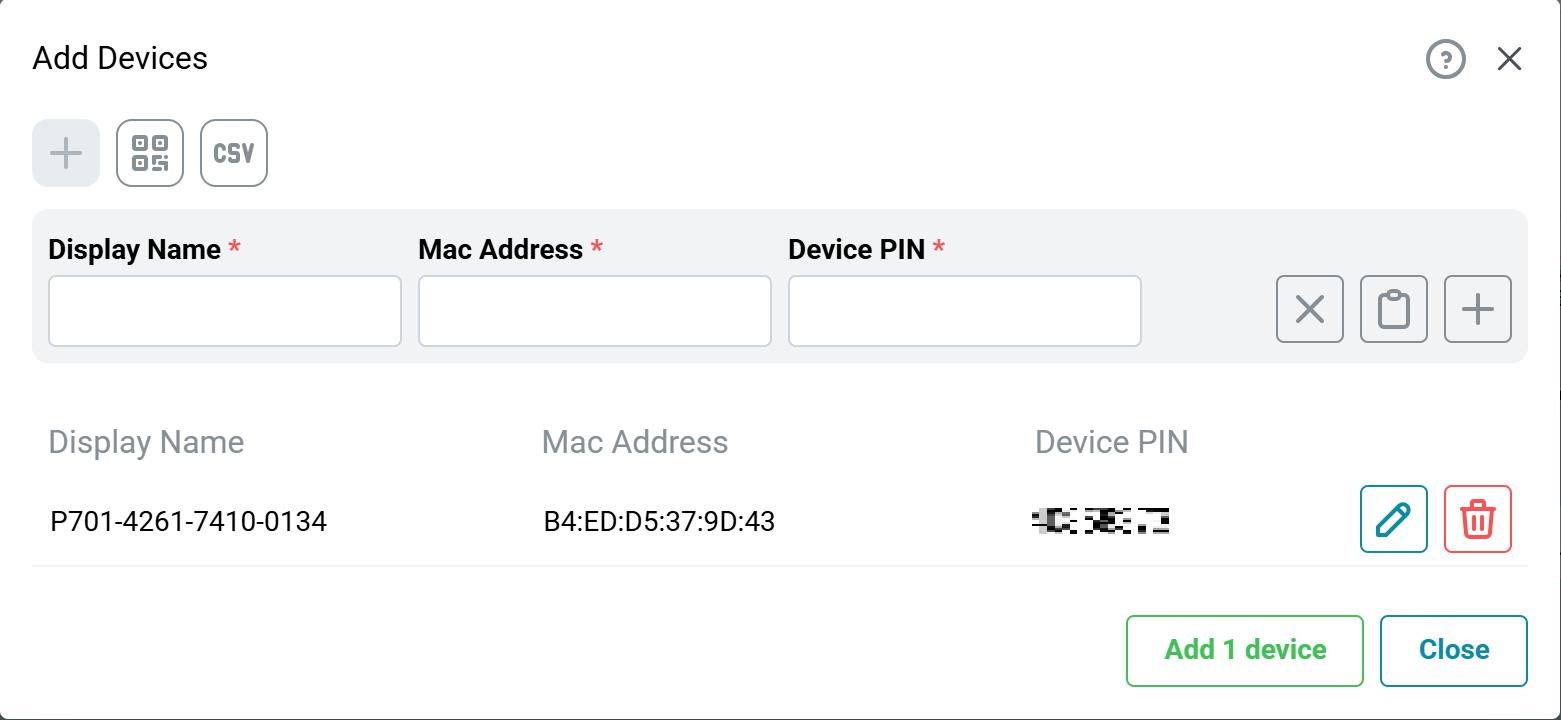
After a valid configuration string is pasted or configuration code is scanned, the device preview appears.
Tip
The auto-generated Display Name can be updated to a more meaningful name for each device. That can be changed later in the device settings.
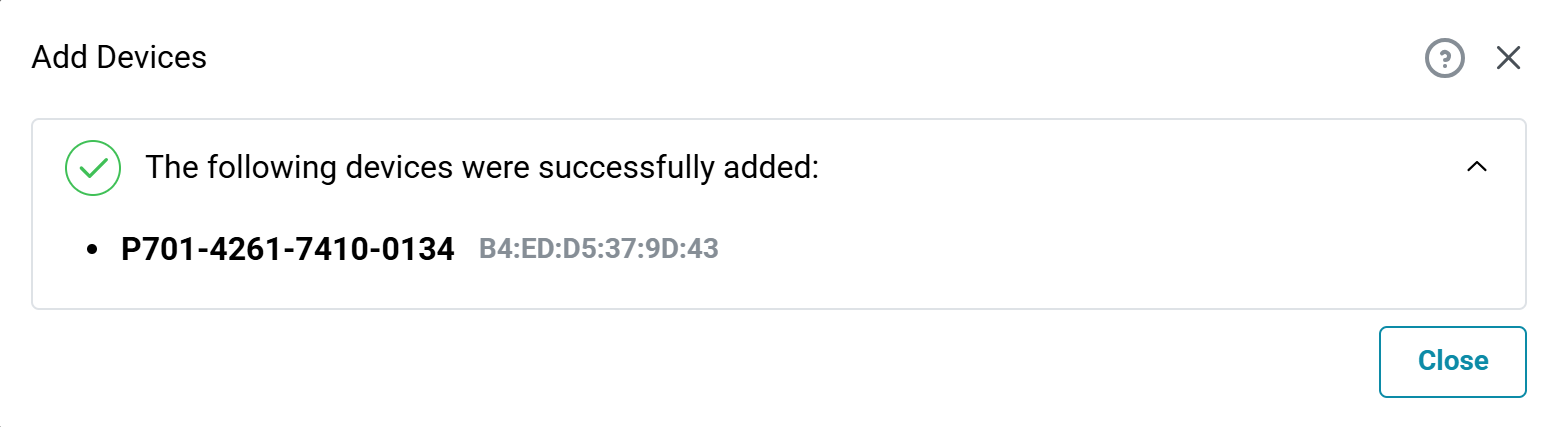
To add more cameras, repeat the applicable onboarding mode. After entering all devices, click Add X device. A confirmation dialog indicates that the camera has been successfully added. Close the dialog.
Note
Cameras may take a few minutes to complete their initial connection to PERCEPT Cloud before they are available for use.
Network requirements
The following network ports and URLs must be allowed for the camera to communicate with PERCEPT Cloud. Although most networks allow outbound connections by default, some may require special configuration. Consult the organization's IT department when necessary.
| Protocol / Ports | Direction | Reason |
|---|---|---|
| UDP / 53 | Outgoing | DNS queries |
| UDP / 123 | Outgoing | Time synchronization |
| TCP / 443 | Outgoing | TLS traffic |
| UDP / 49152-65535 | Outgoing | Media streaming (direct) |
| UDP & TCP / 3478 | Outgoing | Media streaming (TURN) |
| Domain name | Reason |
|---|---|
| global.azure-devices-provisioning.net | Device management |
| global-device-provisioning.api.east-us.perceptcloud.net | Device management |
| prod-east-us-iot-hub.azure-devices.net | Device management |
| perceptprodeastus.blob.core.windows.net | Device maintenance |
| firmwaresdeveastus.blob.core.windows.net | Firmware updates |
| live-*.millicast.com | Media streaming (direct) |
| turn-*.dolby.io | Media streaming (TURN) |