Page non traduite
Cette page n'est pas encore disponible en français. Le contenu est affiché en anglais.
Eagle Eye Networks integration
This guide describes how to connect an IONODES Secure Display Station (SDS) to Eagle Eye Networks (EEN) Cloud VMS, synchronize the account's cameras and layouts, and display the imported views locally.
The SDS screenshots use an ION-R200. The network example also includes an ION-R100S. Interface labels can vary with the SDS firmware and EEN web interface.
Note
The screenshots and workflow come from the July 25, 2022 integration guide and use username/password authentication, identified as API v2 in newer SDS firmware. Newer firmware also offers API v3 with a refresh token. See Integrations in the applicable manual under User Manuals for the controls available on your device.
Prerequisites and network setup
- An Eagle Eye Networks account with a user who can access the required cameras and layouts.
- An SDS that is reachable on the network and configured for administrator access.
- An Eagle Eye Networks bridge with internet access.
- Network connectivity that allows the SDS to access the cameras locally for live video.
Connect the SDS to a 1 Gbps network port, as recommended in the source guide.
The recommended topology connects the bridge, cameras, and SDS as follows:
- Connect the EEN bridge's WAN port to the router's network port, with the router connected to the internet.
- Connect the bridge's CamLAN port to the camera-network switch.
- Connect the cameras and SDS to that switch so the SDS can access camera video locally.
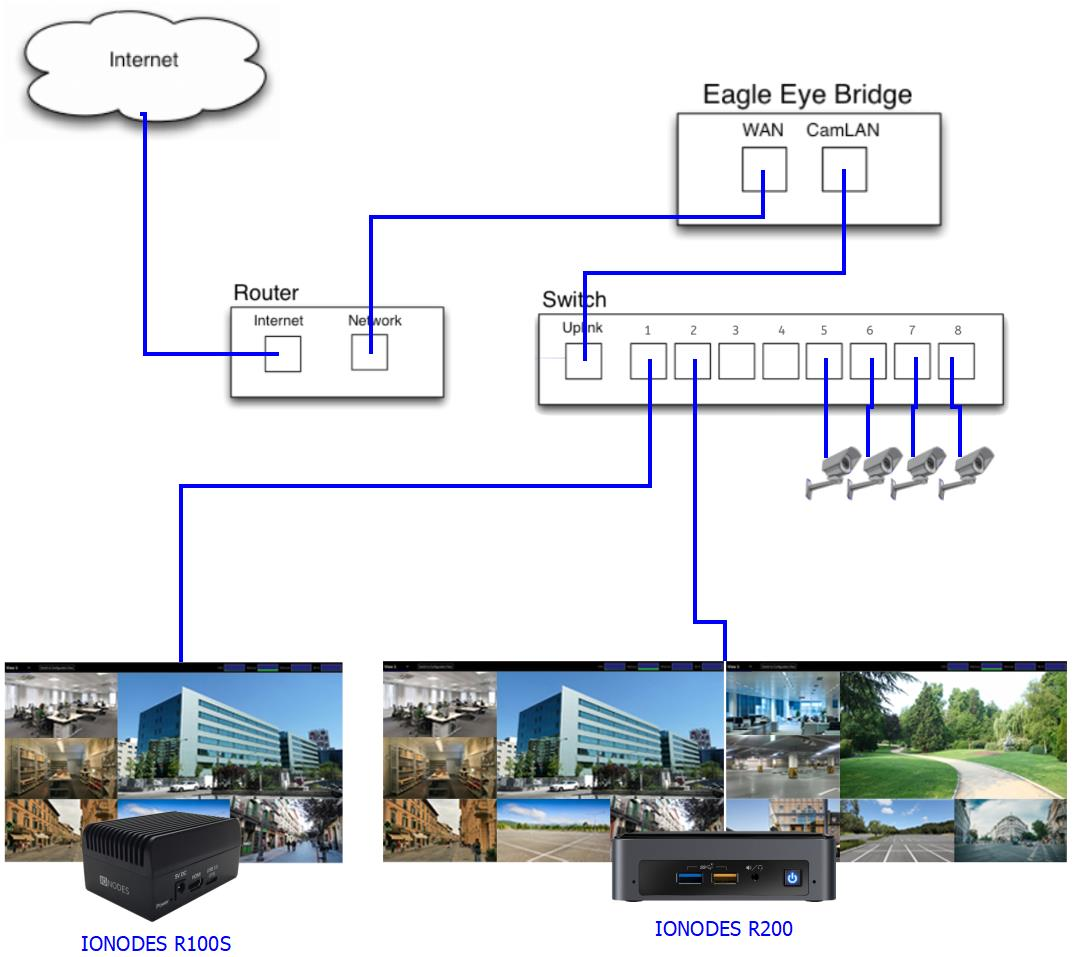
The source guide's example used an EEN bridge model 304 with firmware 1.0.27 and an SDS with firmware 6.0.1.2. These identify the historical example, not minimum supported versions. Confirm compatibility with the deployed firmware and EEN service before rollout.
Configure the Eagle Eye Networks account
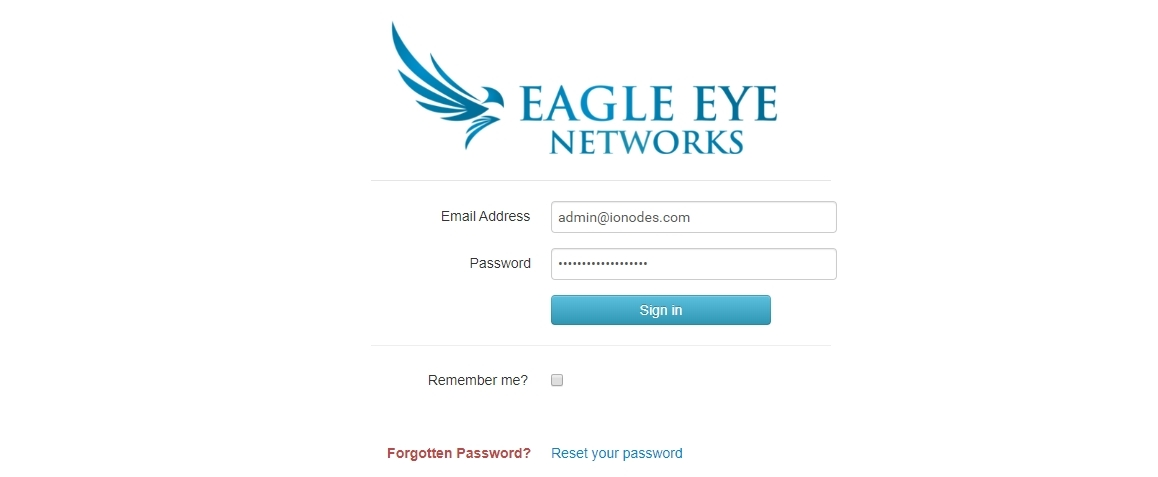
Sign in to EEN
Sign in to the EEN web interface with an account that can manage users.
Create the integration user
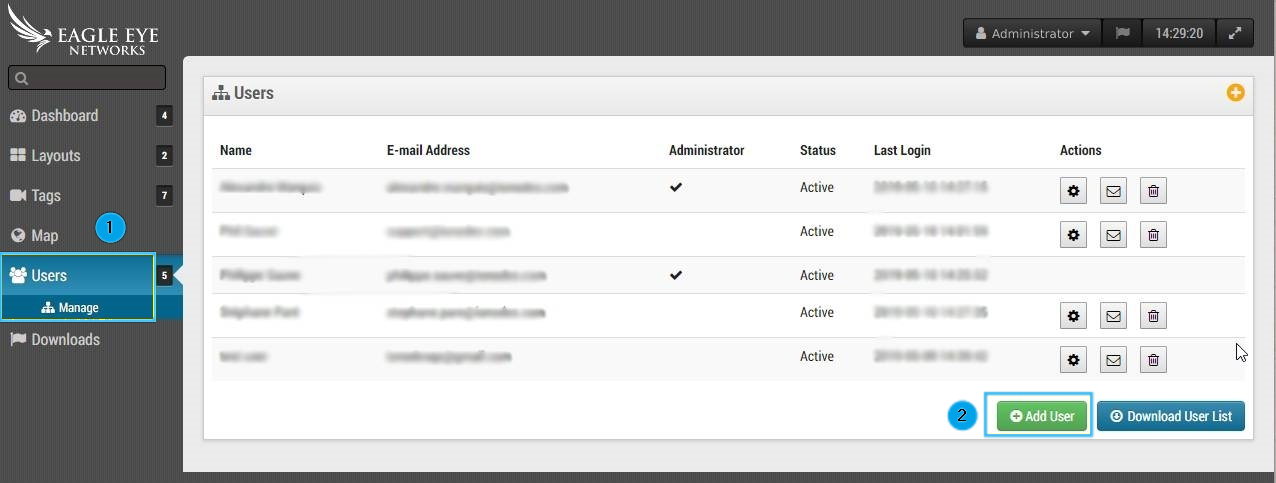
Create the user account that the SDS will use:
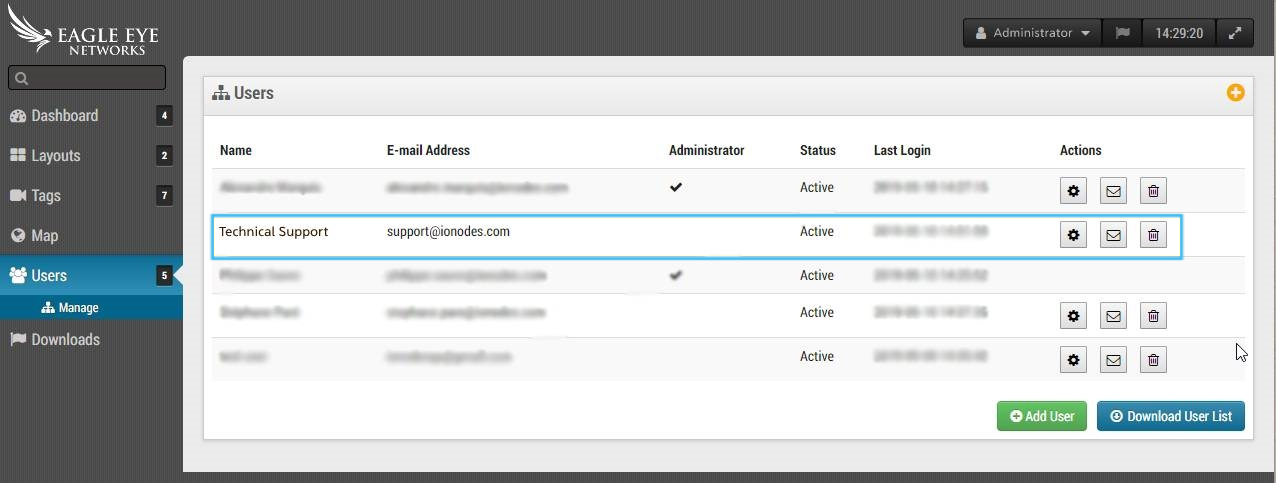
- Open Users > Manage.
- Click Add User.
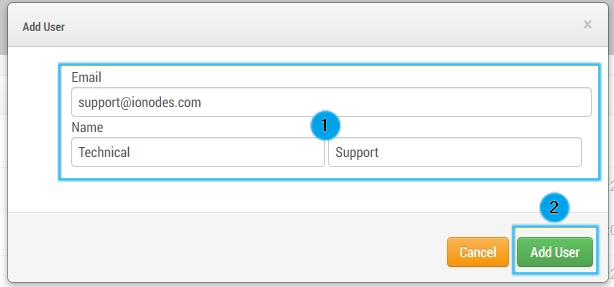
In the Add User dialog:
- Enter the user's Email address and Name.
- Click Add User.
Confirm that the new user appears in the user list. Configure which cameras and layouts that user can access before connecting the SDS, and ensure that the user's credentials are ready for sign-in.
Connect the SDS to EEN
Sign in to the SDS
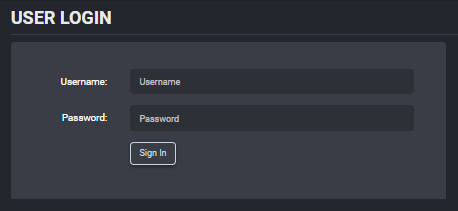
Sign in to the SDS web interface with an administrator account.
Open the integration settings
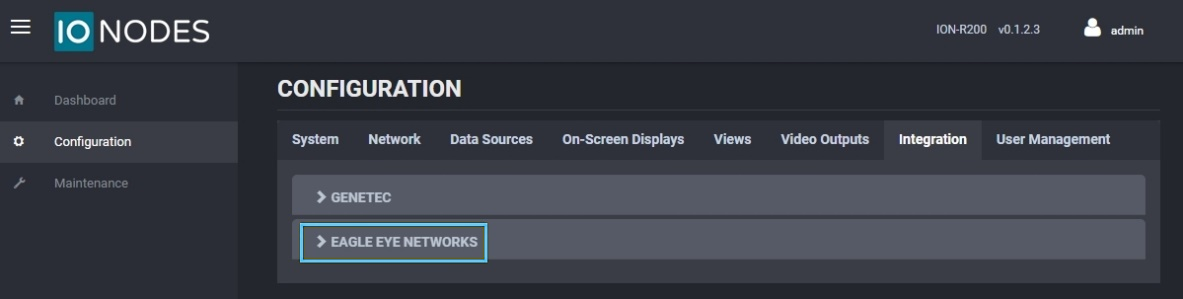
Open Configuration > Integrations and locate Eagle Eye Networks. Older firmware labels the tab Integration.
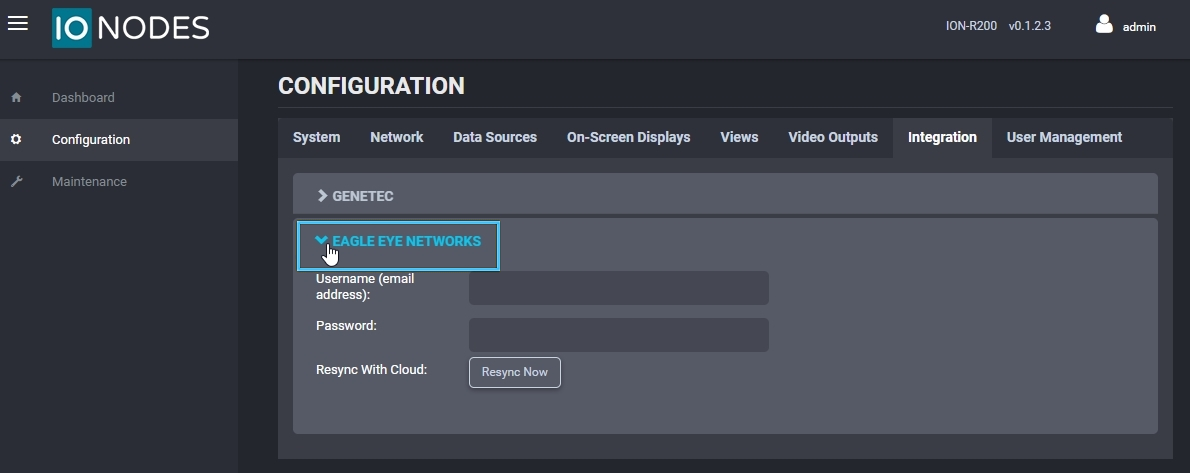
Expand Eagle Eye Networks to display the account fields and synchronization control.
Enter the EEN credentials
On firmware with an API version selector, choose v2 for this username/password workflow. Then configure the EEN account:
- Enter the EEN integration user's Username (email address) and Password.
- Click Save.
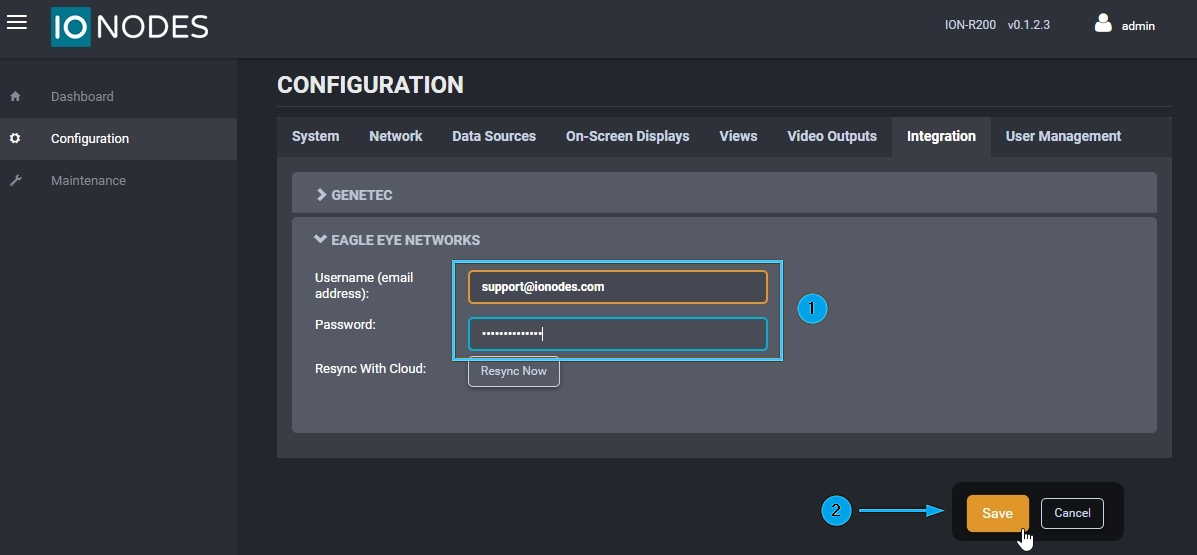
The SDS uses these credentials to sign in to the EEN account and synchronize its configuration. To request synchronization again, click Resync Now.
Verify synchronized data sources and views
The SDS automatically configures local Data Sources and Views using the cameras and layouts available to the EEN user.
Check the synchronization status in the Eagle Eye Networks section:
-
Check that the status indicates Connecting to the cloud service... while the SDS connects.
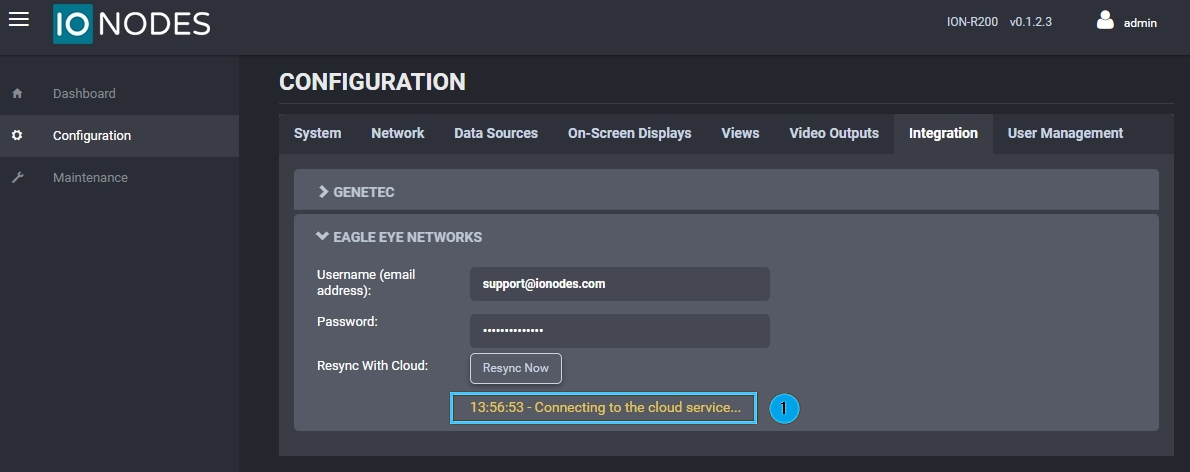
-
Wait for Synchronization with the cloud service successful. before checking the imported configuration.
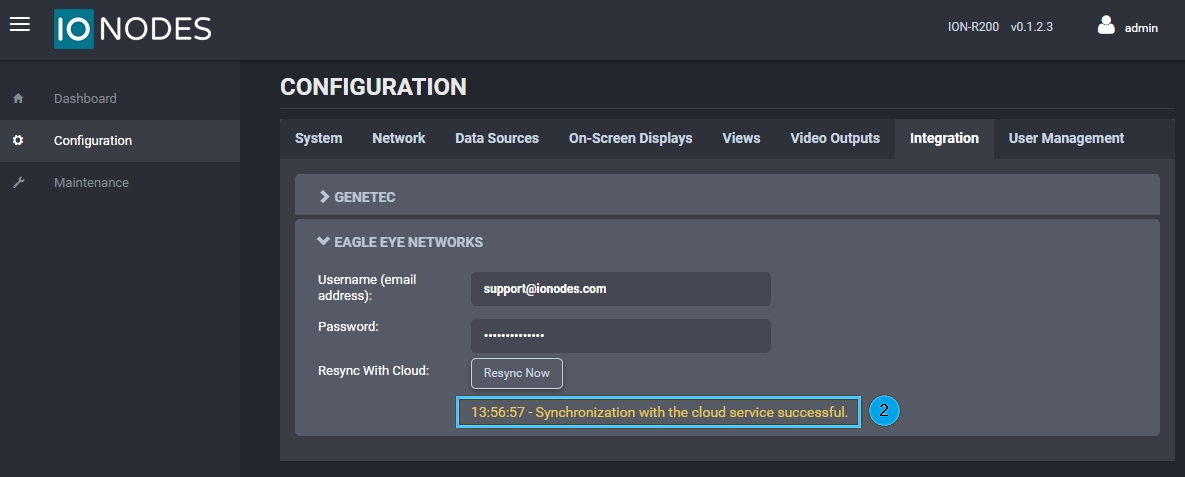
Check the imported data sources under Configuration > Data Sources, then check the imported views under Configuration > Views.
If synchronization does not complete, check the EEN credentials, the user's camera and layout access, and the bridge's internet connection, then retry Resync Now.
Select and validate the display layout
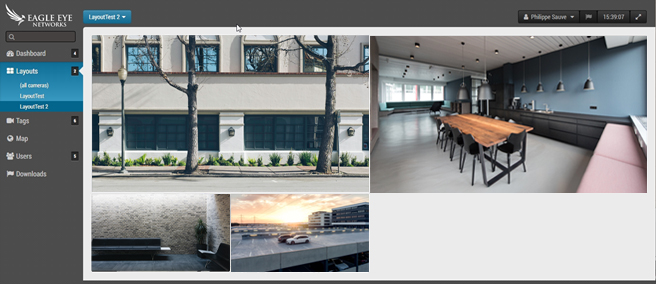
The source example uses two EEN layouts, LayoutTest and LayoutTest 2. The following pairs show each cloud layout and its corresponding imported SDS view.
Note
EEN layouts are dynamic. You may need to experiment with different EEN layouts to obtain the desired arrangement on the SDS display.
First layout
In EEN, open Layouts and select the first layout, LayoutTest in this example.
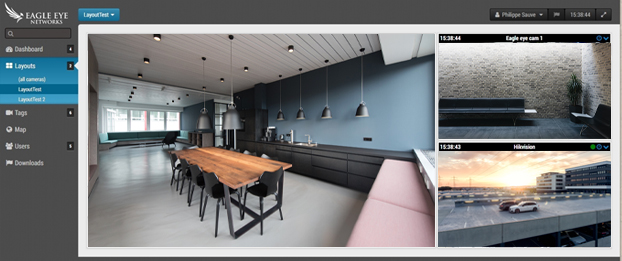
In the SDS web interface:
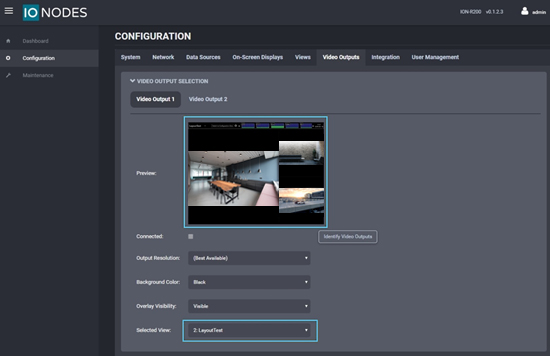
- Open Configuration > Video Outputs.
- Select the video output connected to the display.
- Set Selected View to the imported view corresponding to the first EEN layout, 2: LayoutTest in this example.
- Check the Preview and verify that the same cameras appear on the connected display.
Second layout
In EEN, select the second layout, LayoutTest 2 in this example.
In the SDS web interface:
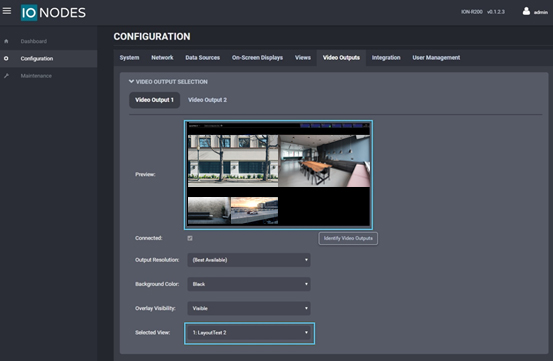
- Select 3: LayoutTest 2, or the corresponding imported view, under Selected View.
- Check the Preview and confirm that the connected display changes to the second layout.
For alternative network architectures or integration assistance, contact IONODES Support.