Initial Setup
The following procedure describes local initial setup of the ION-R100S.
Power-Up
Before operating the ION-R100S, connect the following cables:
- One display using the HDMI connector
- LAN
- USB keyboard and mouse (optional)
- Power
A USB keyboard and mouse are recommended for local configuration. They are not required when configuring the device remotely.
Note
The only layout supported for a directly attached USB keyboard is US QWERTY. This is due to the closed nature of the embedded OS, which prevents any changes to its default configuration.
On first power-up, the appliance boots automatically once the required cabling is connected. If the appliance was previously shut down using the power button, press the recessed power button with a small pointed object for a couple of seconds, then release it.
After a few moments, the boot screen appears:
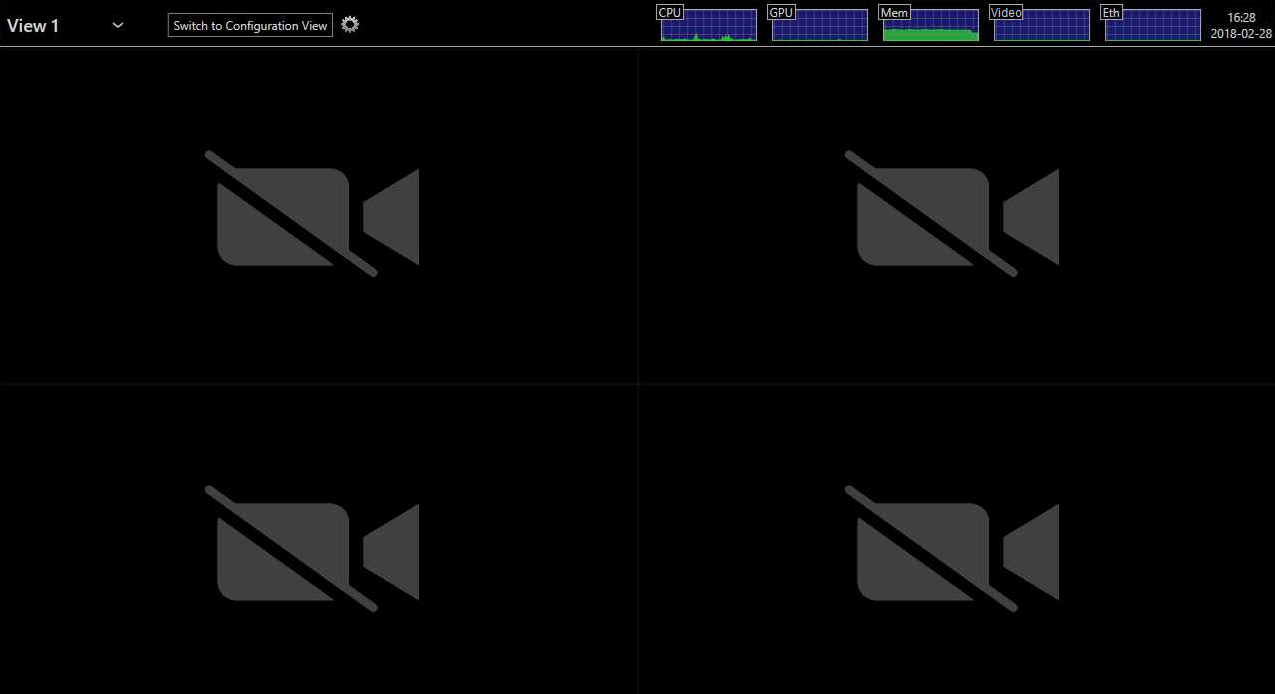
When startup is complete, the main display interface appears:
Admin Account Setup
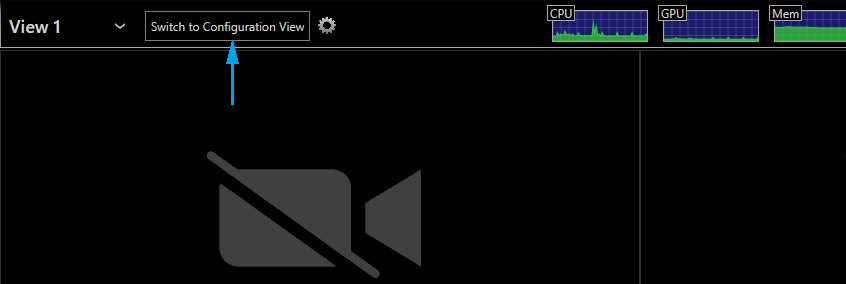
Click Switch to Configuration View to open the configuration interface and set up the administrator account.
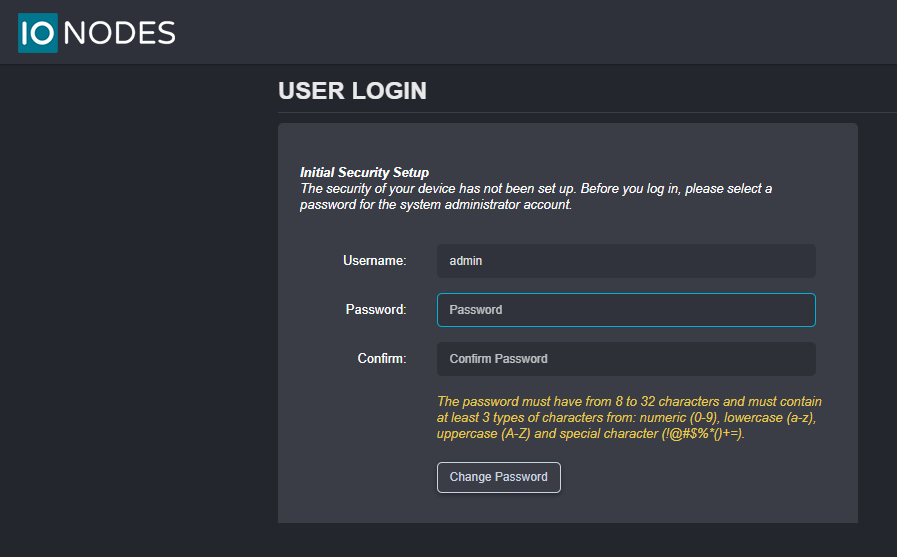
Upon first login, a password must be set for the administrator account. The password must have from 8 to 32 characters and must contain at least 3 different types of characters from the following accepted types: numeric (0-9), lowercase (a-z), uppercase (A-Z) and special character (!@#\$%*()+=).
After the administrator password is set, the Dashboard is displayed.
Remote Access
Initial setup and subsequent configuration can also be performed remotely when the device's IP address is known. Open a web browser on a computer connected to the same LAN and enter the device's IP address to access the same configuration interface.
Set the administrator password when prompted, or log in with the existing administrator credentials.
Tip
To find the device's IP address, hover the mouse pointer over the LAN graph at the top of the connected display.