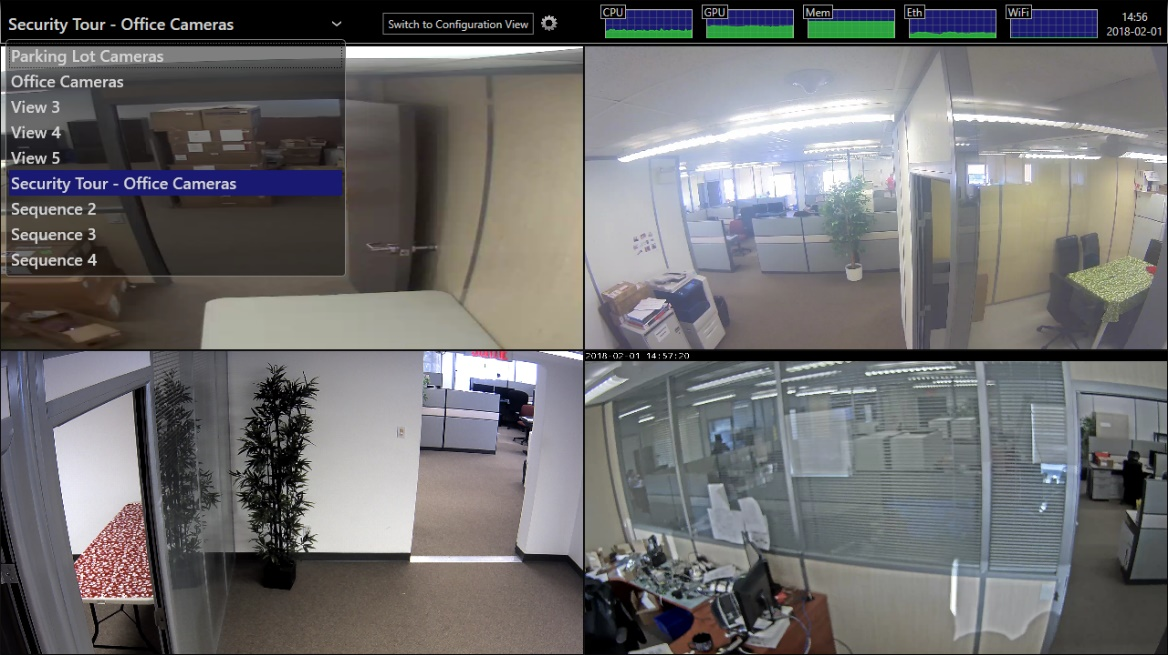
Views
Views define how data sources are grouped and displayed. For example, to show video from all building entrances on one screen in a 2x2 layout, configure a view with that layout.
The ION-R150 supports up to 8 separate views.
In the Configuration page, select the Views tab.
Views have the following configuration:
- Name: User-friendly name. Also displayed in the view selector in the top-left corner of the screen.
- Tile Layout: Views display content in one or more tiles. The tile layout dictates how many tiles to display and how they are organized.
- Tile Border Width: Determines the width of the borders around each tile. A value of 0 means no border is shown.
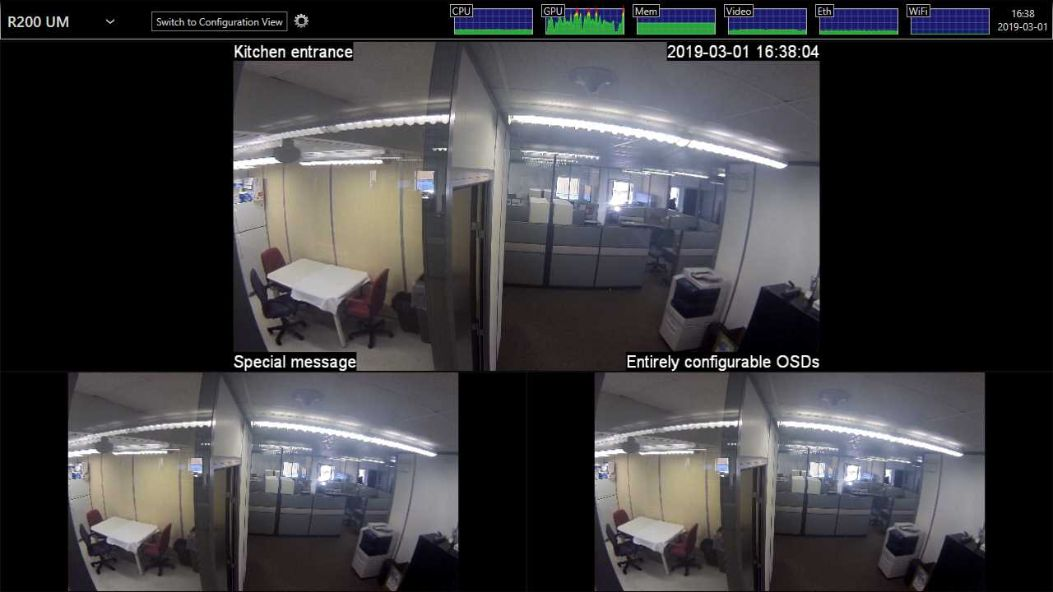
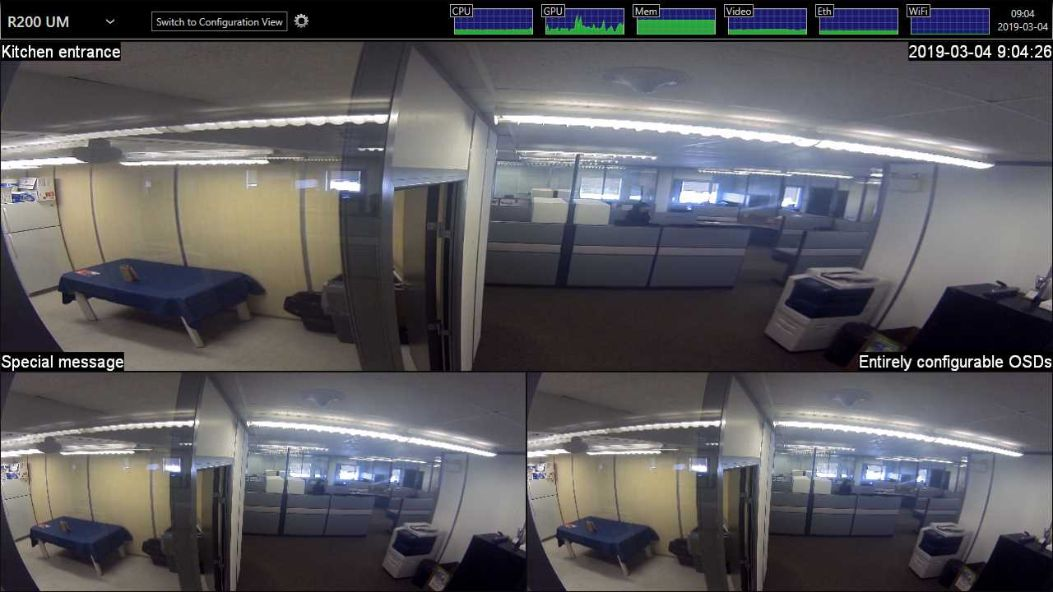
- Stretch Tile Content: When the aspect ratio of a video stream does not match the tile aspect ratio, this setting determines whether the video is stretched to fill the tile or scaled to fit inside it.
Note
Stretching the content of a video tile can visibly deform the video, as shown in the images below. Web pages simply adjust their layout based on the available space, so they are generally not affected in the same way.
Displaying Data Sources in a View
After configuring one or more data sources, assign them to tiles from the Views tab.
In the Configuration page, select the Views tab and scroll to the View Tiles Content section. Each tile is identified by its position in the selected layout.
For any hightlighted tile, click the Data Source field and select the desired data source. Click Save at the bottom to apply the change.
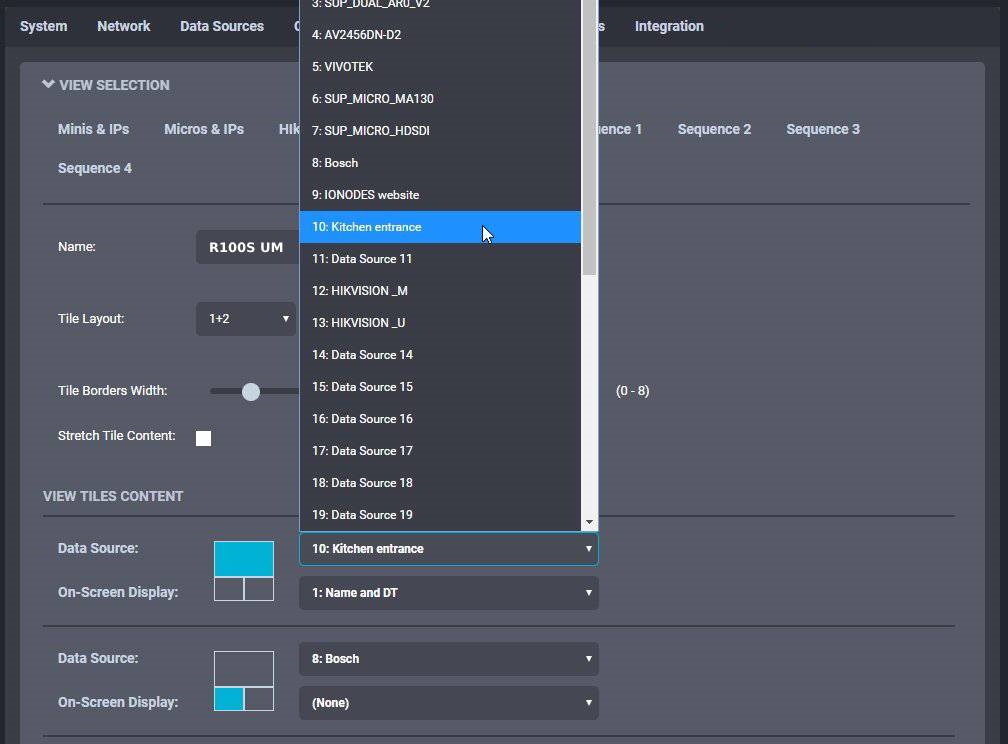
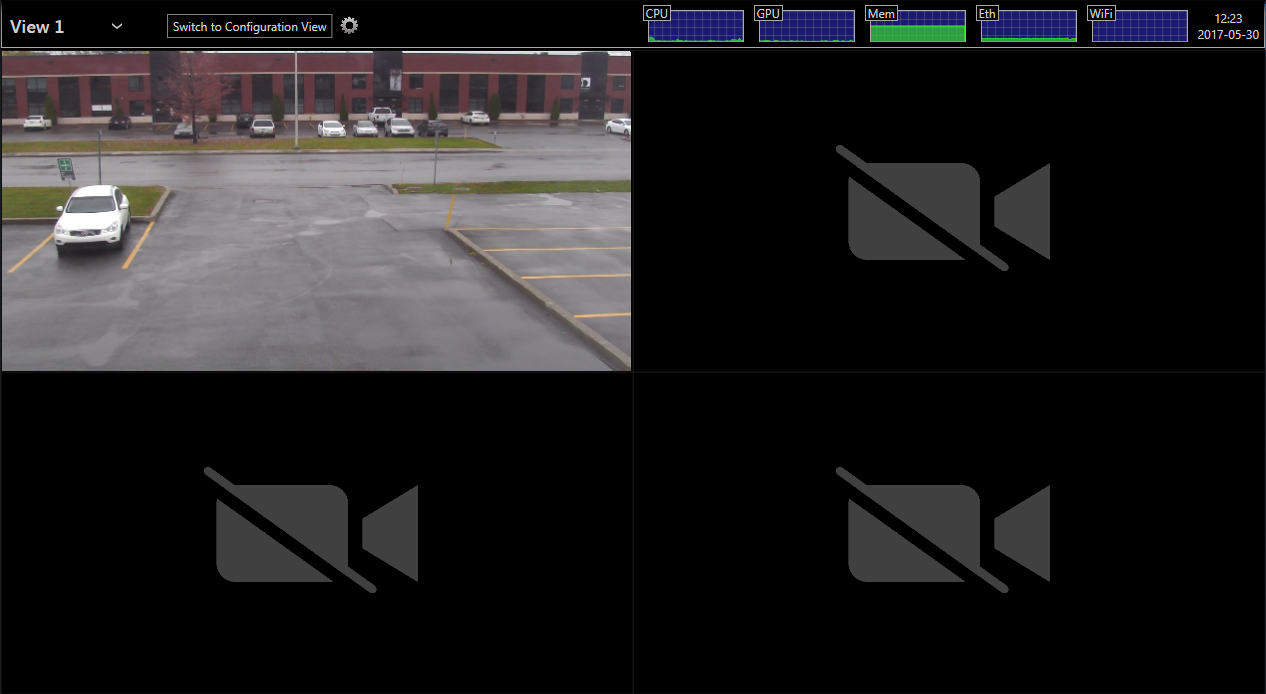
During remote configuration of the ION-R150 through the web interface, video appears immediately. During local configuration, click Switch to Display View at the top of the screen to view the video.
Displaying an On-Screen Display in a View
After creating one or more OSD configurations, assign an OSD to each tile from the Views tab.
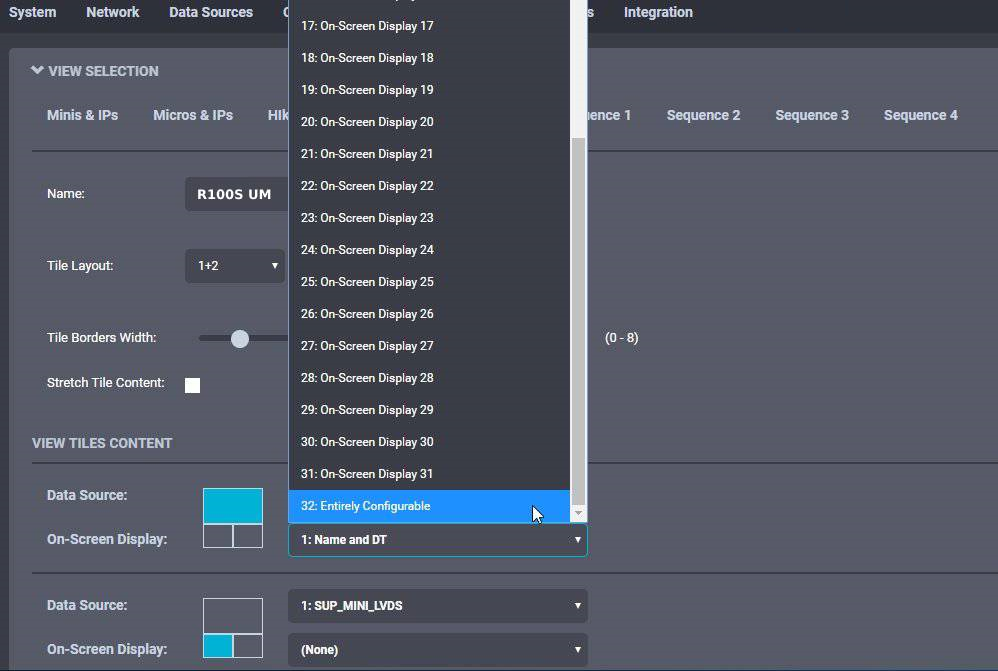
In the Configuration page, select the Views tab and scroll to the Tile Selection section.
For the highlighted tile, click the On-Screen Display field and select the OSD to apply. Click Save at the bottom to apply the change.
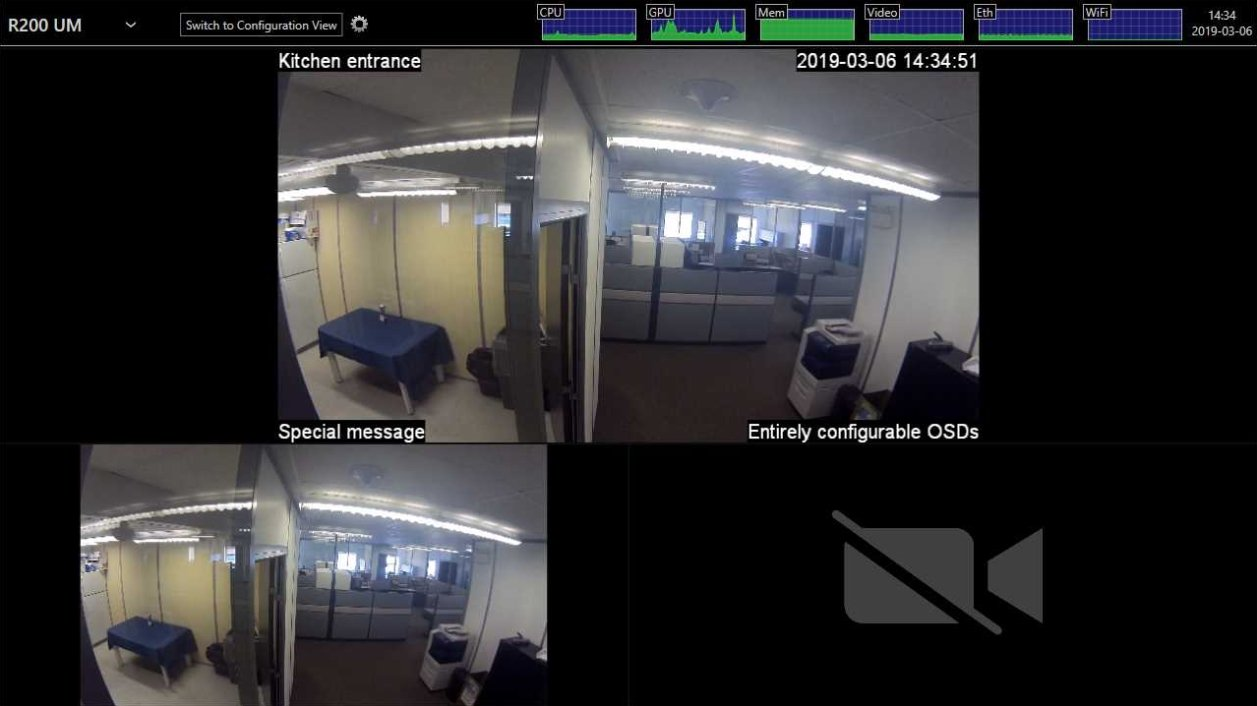
During remote configuration of the ION-R150 through the web interface, the OSD appears immediately over the video. During local configuration, click Switch to Display View at the top of the screen.
View Sequences
After configuring two or more views, configure the ION-R150 to cycle through the views automatically on a timer.
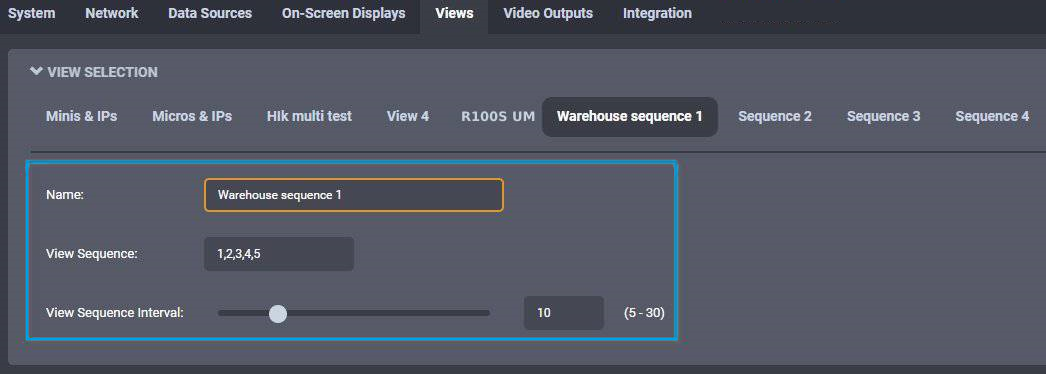
In the Configuration page, select the Views tab. Then select Sequence 1, 2, 3 or 4 to customize.
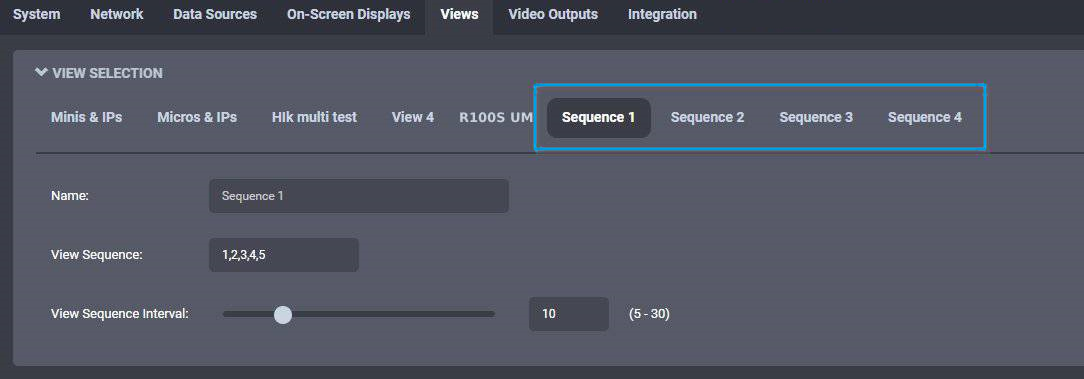
To configure a view sequence, enter the list of views to display, in the desired order and separated by commas, and the duration, in seconds, each view will be displayed. Select a name for the view sequence (optional) and click on Save to save the configuration.
Back in Display Mode, select a view sequence to start it. When a view sequence is active, the name of the currently displayed view is also shown.